The Bridge Project

The Bridge Project was designed as a way to test knowledge of manufacturing methods along with knowledge of statics and moments. The goal of the project was to make a bridge out of an assigned material, that could span a 12” gap, hold 30 lb, and fit a 2”x 3”x 2” object down the center, while keeping to a strict set of material requirements.

This project allowed for the exploration of bridge design principles, including balancing forces, redundancy, load splitting, and material durability, all while adapting to the unique properties of resin casting. Sources can be found at imageshosted.github.io/citations.pdf, a Github account I run.

The Bridge Project Image

Technologies Used

The bridge was manufactured using resin casting as the primary method, supported by the following technologies and tools:

3D Printing

Used to create the initial parts for molding negatives.

Silicone Molds

Created using the 3D printed parts for flexible mold negatives.

Resin Casting

Allowed for precision and versatility in the parts while maintaining lightweight properties.

West Point Bridge Designer

Used for stress simulations and analysis of different designs.

Project Timeline

Empathize/Define

Studied the principles of a good bridge: balance of forces, redundancy, load splitting, and material durability. Learned to adapt to resin casting's unique properties and constraints.

Phase 1

Brainstorming/Prototyping

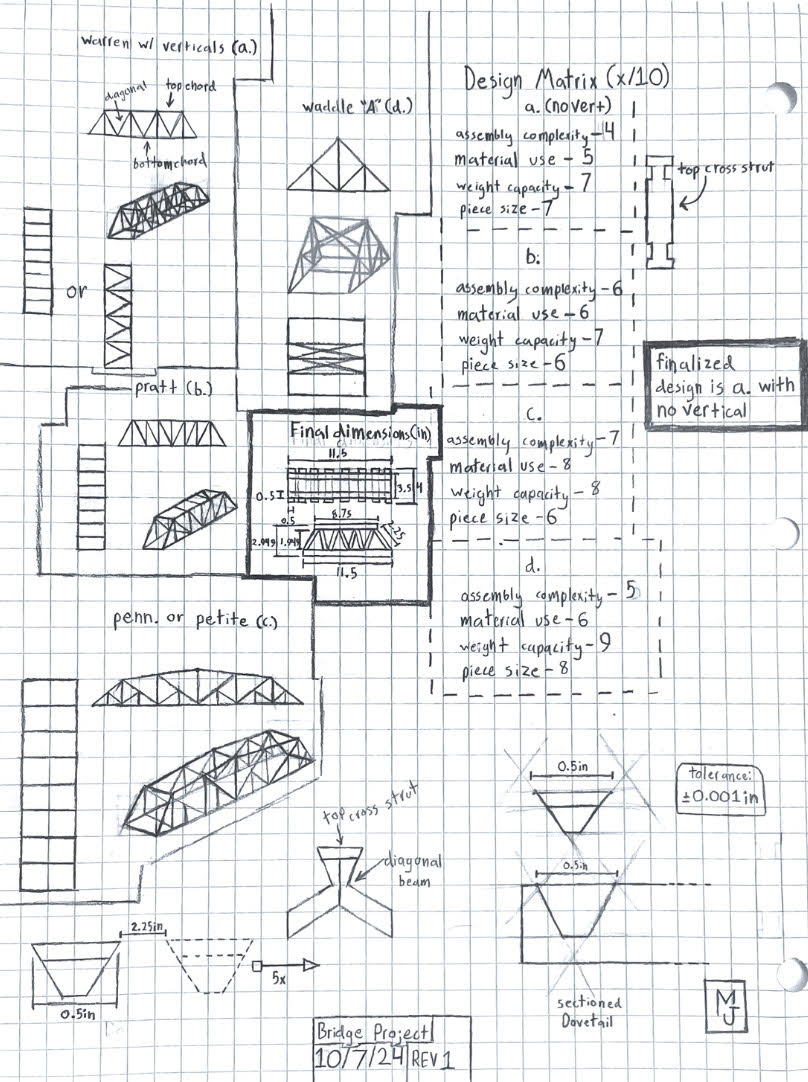
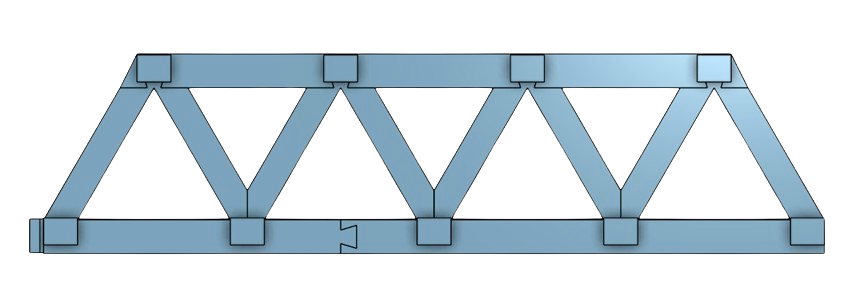
Created concept sketches and a design matrix. Simulated designs using West Point Bridge Designer to evaluate weaknesses. Prototyping history can be found at imageshosted.github.io/prototyping.pdf

Phase 2

Manufacturing

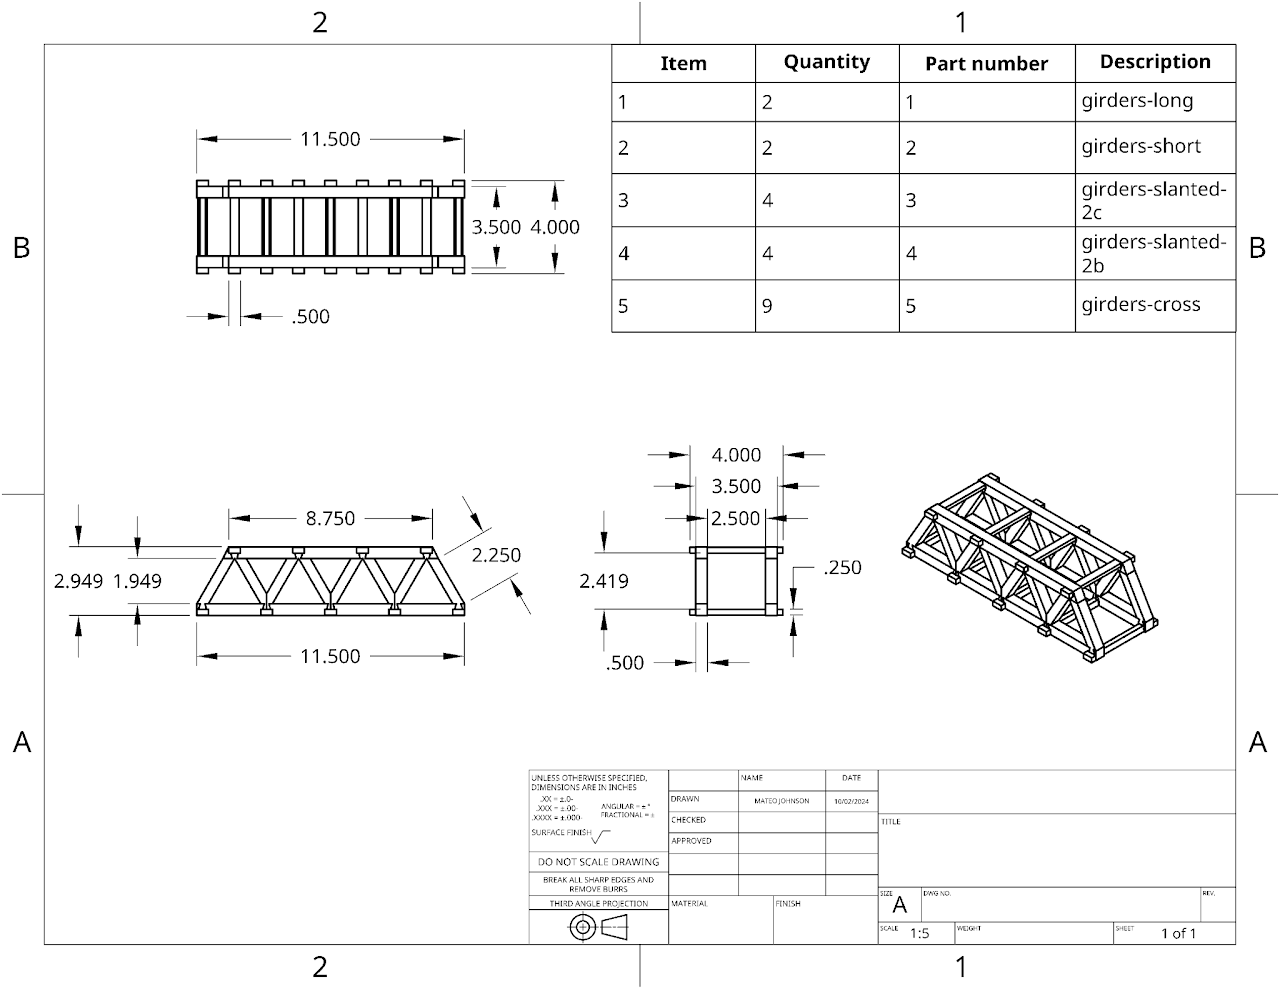
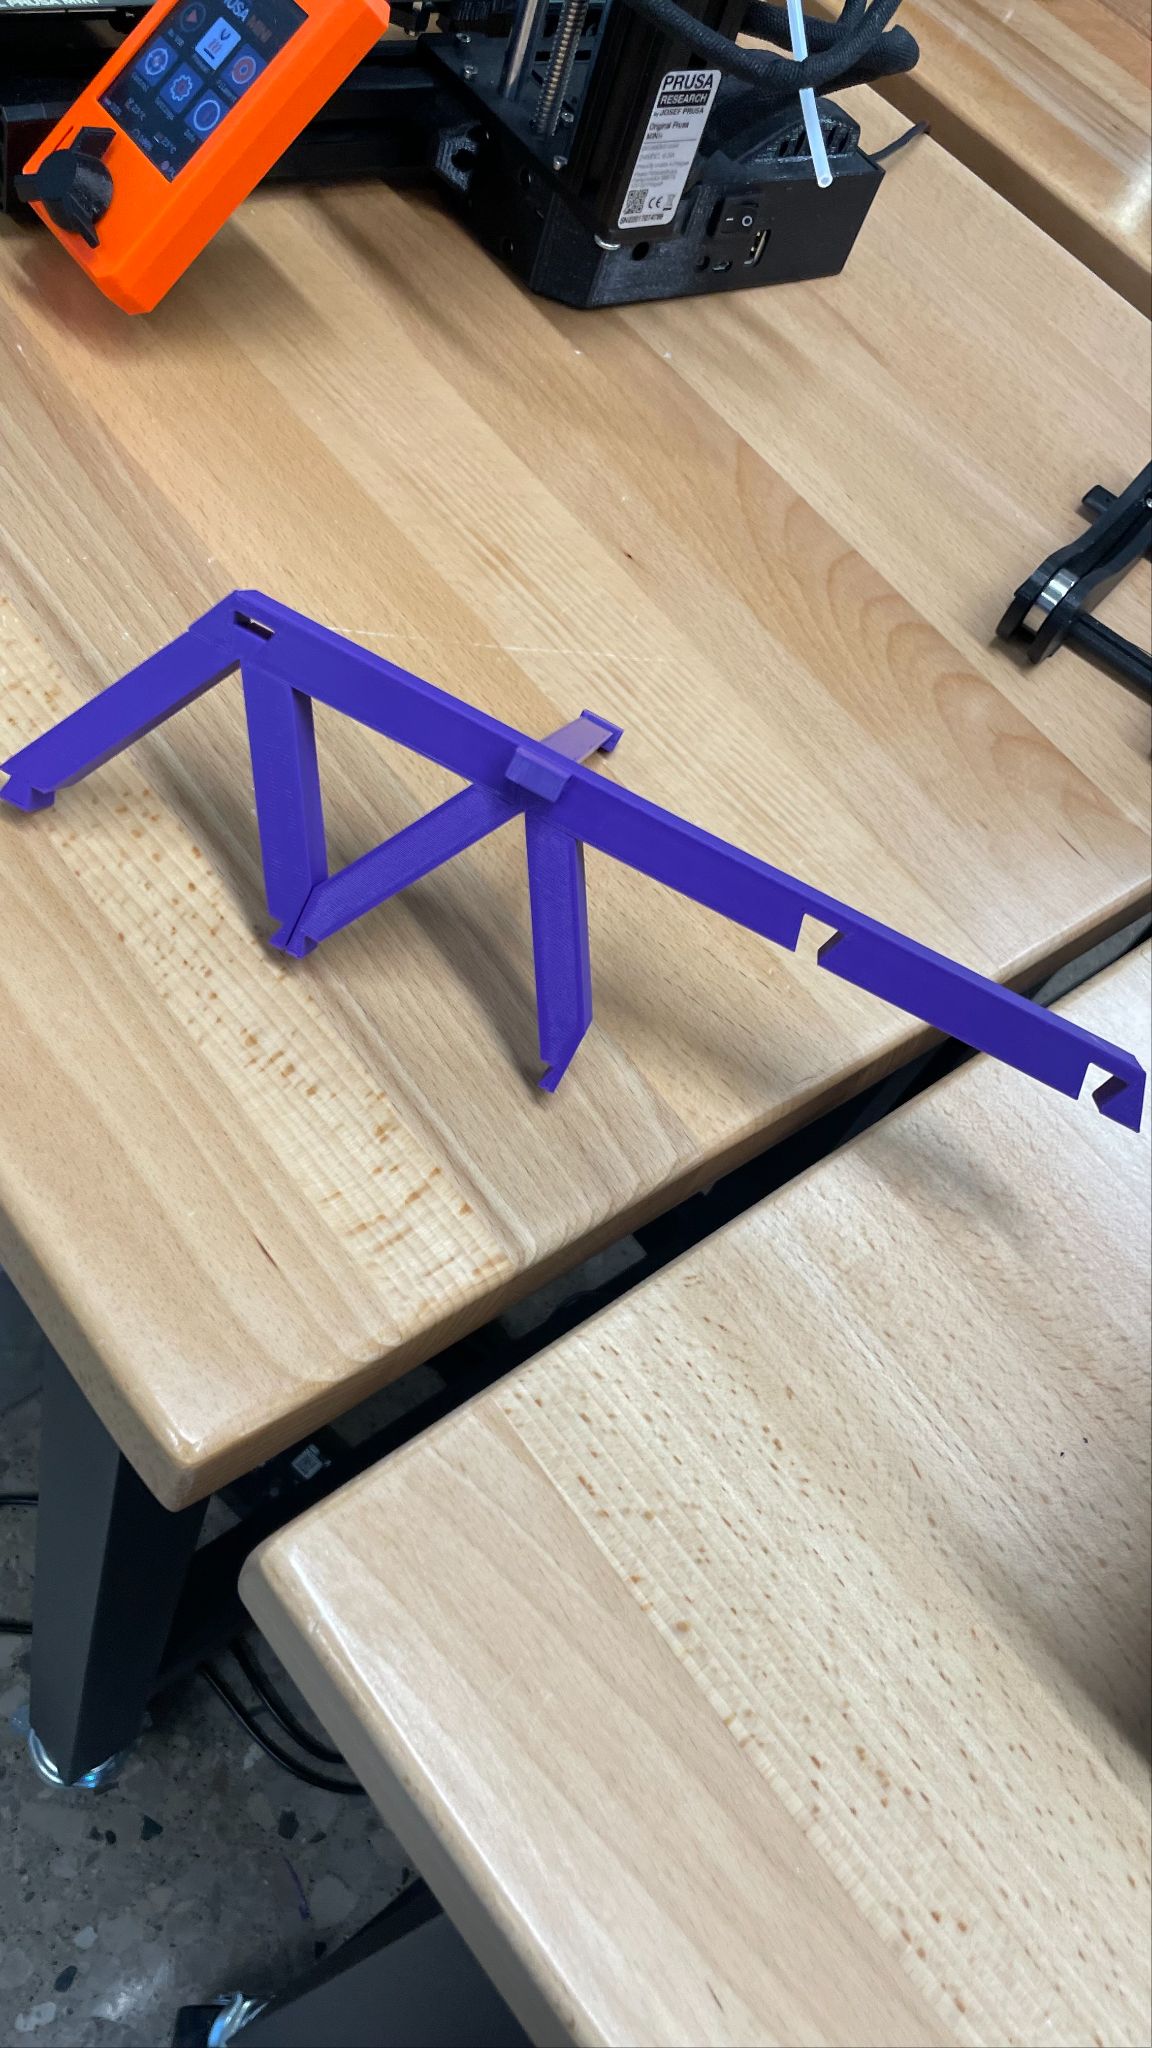
3D printed parts to create molds for resin casting. Assembled the bridge using cast dovetail joints and liquid resin for structural integrity.

Phase 3